


An ode to dough.
A quick guide to yeast-risen bread and a simple recipe for giant cinnamon rolls!

Hello again fermented folks!
Today I would like to highlight the most frequent and most industrialized fermented food we humans enjoy: leavened or yeast-risen bread. Leavened bread is as old as writing itself, and has been depicted in Egyptian hieroglyphs dating back 3000 years. The methods for bread making were ultimately refined over millennia through the introduction of the scientific method, the invention of the microscope and most recently by genetically sequencing the DNA of individual species and strains of yeast from different geographical locations. Today, bread is baked on an unimaginable scale and there is an even greater need for microbiologists to understand the science behind baking.
The nuts and bolts of dough rising
If you did any pandemic baking (and failing) then you are aware that bread fermentations can be a mystifying process. At the core of this fermentation is a single domesticated yeast strain from the species Saccharomyces cerevisiae. This yeast can also produce beer, wine and other fermented products, but the strains used for baking have become specially adapted and selected for their ability to tolerate the harsh environment of a typical dough. As opposed to the other S. cerevisiae fermentations, dough is a relatively dry environment with limited oxygen and added stress from high sugar and salt concentrations.

Dough is created when liquids and milled grain flour are mixed together until a solid structure is formed with a desired elasticity. The dough is then homogenized (kneaded) to redistribute the yeast throughout the structure and to oxygenate the yeast. When we look at the genes that S. cerevisiae turns on when inside a dough fermentation there are three clear stages, or challenges that the yeast needs to overcome.
In the first part of the fermentation (lag phase), the yeast turn on systems that protect their tiny cells from the stress of osmotic pressure (the tendency for molecules to flow from high to low concentrations). Mainly this means yeast are vulnerable to the salt and sugar concentrations being higher in the dough than the concentrations of these molecules inside the yeast cell. Once the yeast have reinforced their cell walls, they begin to actively consume grain sugars (mainly maltose) and produce carbon dioxide bubbles. The more respiration that is completed by the yeast, the higher the rise of the dough and the larger the final baked loaf.
In the middle of the fermentation, yeast are actively turning on genes for metabolism of amino acids, indicating that new yeast cells are being created (through asexual reproduction).
Finally, once the fermentation is basically complete and the food has run out for the yeast, genes are turned on that promote the yeast to go into a dormant state. For a more technical explanation of the genes turned on during dough fermentation check out this paper published in 2013 in the journal Applied and Environmental Microbiology.
Unlike the brewing industry, bakers rarely reuse yeast from batch to batch (with the exception of sourdough back-slopping) and instead rely on commercial yeast producers like Redstar and Fleischman’s. The reason may be that dried yeast have been specifically conditioned by the producers to create lots of carbon dioxide while rapidly improving their cell walls to withstand the dough environment. One molecule that seems to be particularly important in this process is glycerol, which yeast cells use to regulate their osmolarity. When we look at the DNA of commercial baking yeast we see that they tend to have a higher number of chromosomes than wild yeast. This means that baking yeast may have more copies and combinations of genes that the yeast can then use to import and regulate glycerol. Unwittingly, this trait has been promoted in domesticated baking yeasts because bakers like to have quick rising yeast that finish fermentation quickly! For more on the genetic history of baking yeast take a peak at this review published in 2020 in the journal Frontiers in Genetics.
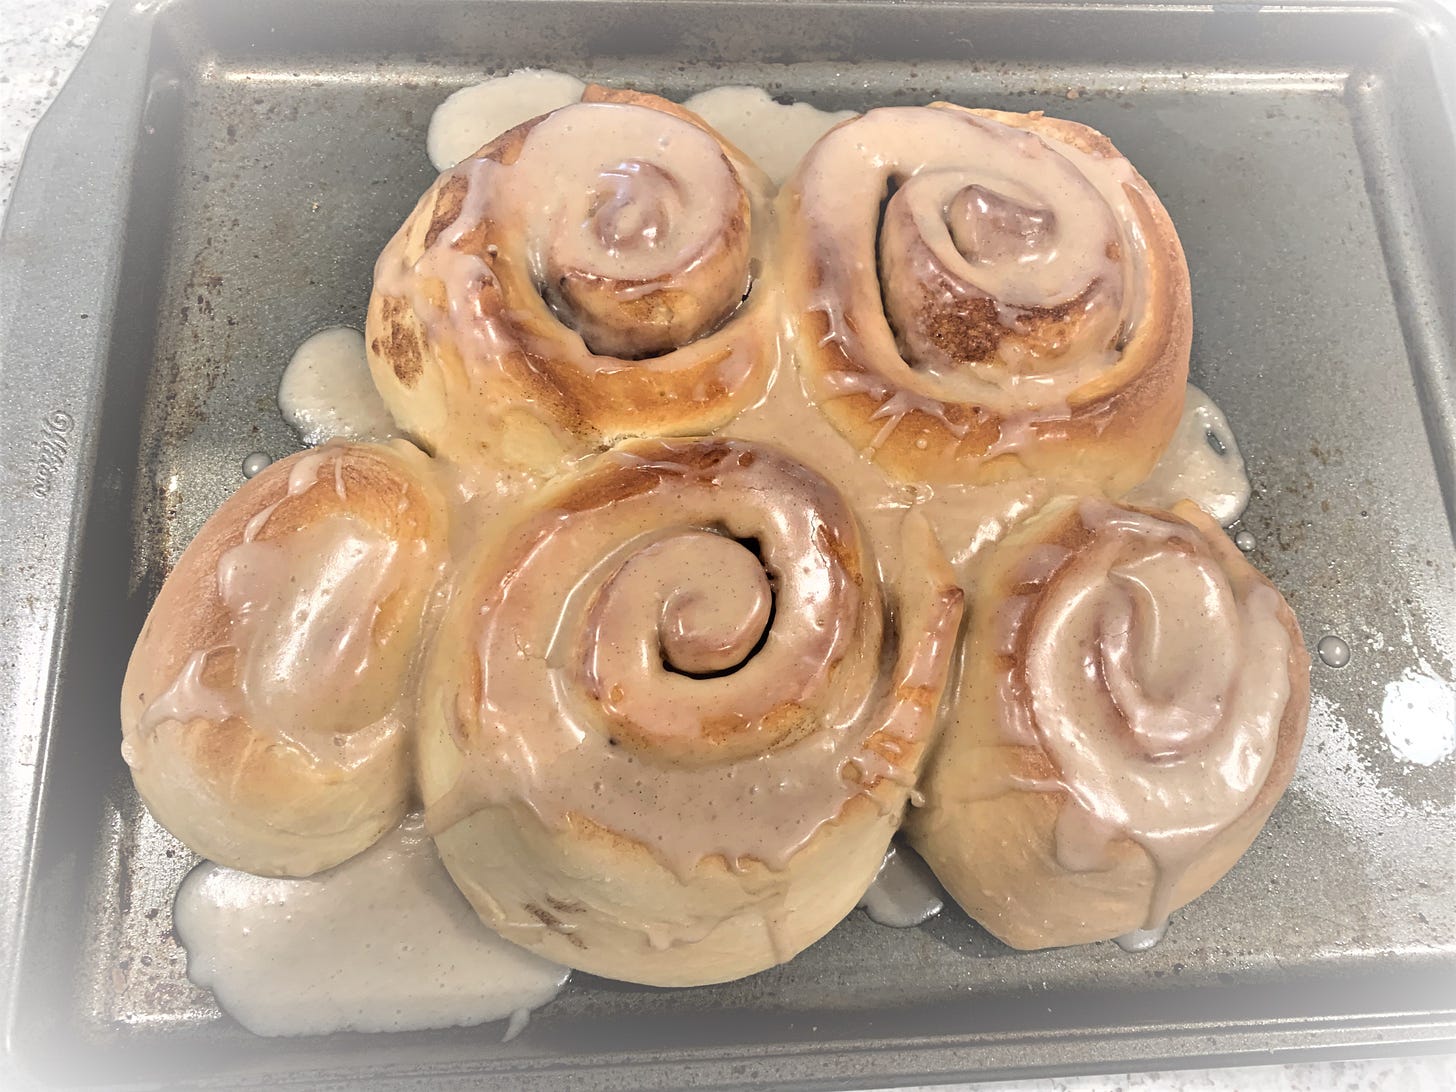
Giant Nom-Nom Rolls
Disclaimer: This recipe is not a healthy fermented food. Please eat responsibly and consider sharing one roll with multiple people.
Mix together in a large bowl ¾ cup whole-fat milk (warmed in the microwave for 30 seconds), 1 egg, 1 egg yolk, ¾ tsp salt, ¼ cup granulated sugar, ¼ cup lard or butter. Whisk together until eggs are beaten.
While mixing, slowly add in 1.5 cups of bread flour, then add 1 pack of instant rise yeast. If using a stand mixer, switch from whisk, to dough hook. Add in another 1.5 cups of bread flour.
Once the dough is starting to form in the bowl, take it out and hand knead it on a floured surface. If the dough sticks to your hands or the surface add a dash more flour. If you want to knead with the stand mixer, leave in the bowl, go for 10 minutes on medium speed and make sure your kitchen is warm. If you hand knead, go for 8 minutes, (and make sure your hands are warm!)
Put the dough into a well oiled bowl and cover with saran wrap or other gas trapping cloth, (I use a reusable wax sheet). Your goal here is to allow the dough enough time to produce all those enzymes, proteins and cells it needs and make a ton of carbon dioxide bubbles to get a nice fluffy dough. Place the bowl somewhere warm. Alternatively proof in an oven (optimal proofing is 75-95 degrees F). You can also use an instant pot as a proofing vessel by using the yogurt function.
During the fermentation time, make the filling and glazing.
For filling, melt ¼ cup of butter in the microwave, add 1.5 tbsp. cinnamon and 2/3 cup dark brown sugar. Whisk together.
For glazing, melt ¼ cup of butter in the microwave, slowly add powdered sugar while whisking until you meet the desired thickness.
Once the dough has doubled in size, (usually 1-2 hours) take it out and quickly roll it out onto a floured cutting board into a rectangle shape. Try to be quick and don't overall roll the dough. Spoon the filling onto the dough, spread into all corners.
Gently roll the dough from the short side of the rectangle till it is completely rolled. Using a sharp knife, cut the rolls into 3.5-4 inch sections. Place the rolls vertically on an oiled baking sheet and proof for an additional 15-30 minutes. Bake at 350 degrees F for 15 minutes. Once cooled add glazing over the top to taste.
To get this recipe right you will need to monitor how fast your yeast are completing the first rise and the final rise. It is just something you will have to feel out after trying. Remember you can under-proof and over-proof breads, leading to dense doughs. You want the yeast to have just enough energy left after the first rise to complete that second dough rise and get a really fluffy roll.
Enjoy! Do not refrigerate to prevent staling. Eat fresh or wrap and eat within a few days. If reheating, put in the microwave for 30 seconds.

Disclaimer: The opinions expressed here are my own and are not representative of the authors or publishers of the papers discussed herein.